How to Measure Wind Speed at Home: Beaufort Scale vs Anemometer for Beginners
Stand on a blustery hillside and you can feel the wind pushing at your coat, but "blustery" won't tell you whether it's safe to put a gazebo up or whether that loose fence panel will survive the night. Two approaches will: reading the world around you with the Beaufort scale, or measuring directly with a home anemometer. The first costs nothing and takes a minute to learn. The second gives you a number you can write down. Most people who get serious about wind end up using both, and checking one against the other.
What the Beaufort scale actually measures
The Beaufort scale was devised by Admiral Sir Francis Beaufort in 1805 for describing conditions at sea, and it was later adapted for use on land. It runs from Force 0 to Force 12, and each number describes the effect of the wind rather than a speed. Smoke rising straight up is Force 0. Whole trees in motion is Force 7. Twigs snapping off is Force 8.
That descriptive approach is its great strength. You don't need equipment, batteries or a signal. But it comes with a caveat worth understanding before you trust your own judgement: the standard land descriptions assume open, flat ground, with the wind measured at about 10 metres above the surface. Almost nobody's back garden matches that. Shelter from a hedge, a shed or the side of a house can knock a real Force 5 down to something that feels like Force 3, while a gap between two buildings can funnel the same wind into something that rattles the gate like a Force 6. Beaufort tells you what the wind is doing where you are standing, which is often exactly what you want — just don't assume it's the same as the official reading for your town.
The forces you'll actually meet in the UK
Forget the full table. These are the bands that matter day to day, with rough speed equivalents to give you a sense of scale:
- Force 0–1 (under 3 mph) — calm to light air. Smoke drifts; you'd struggle to feel anything on your face.
- Force 2 (4–7 mph) — light breeze. You feel wind on your skin and leaves begin to rustle.
- Force 3 (8–12 mph) — gentle breeze. Leaves and small twigs move constantly, and flags start to lift and flap.
- Force 4 (13–18 mph) — moderate breeze. Dust and loose paper lift off the ground; small branches sway.
- Force 5 (19–24 mph) — fresh breeze. Small leafy trees sway noticeably and you notice resistance when walking.
- Force 6 (25–31 mph) — strong breeze. Large branches move, and umbrellas become a losing battle.
- Force 7 (32–38 mph) — near gale. Whole trees in motion; walking into it is genuinely hard work.
- Force 8 (39–46 mph) — gale. Twigs break off trees and progress on foot is difficult.
Above Force 8 you're usually in named-storm territory, and the sensible response is to secure the bins and stay indoors rather than stand outside refining your estimate.
How home anemometers work
An anemometer measures wind speed directly, usually in miles per hour, kilometres per hour or metres per second. The types you'll meet as a beginner fall into three broad camps.
Cups, vanes and sonic sensors
Cup anemometers have three or four hemispherical cups on a spindle. The cups catch the wind and spin, and the rotation rate relates to the wind speed. They don't care which way the wind is blowing, which makes them simple and reliable, but they do need to be mounted level.
Vane or impeller types use a small propeller that has to face into the wind. They're normally paired with a wind vane so the whole assembly swings round and keeps the propeller pointing the right way. These are common on domestic weather stations.
Sonic anemometers have no moving parts at all. They measure how long sound pulses take to travel between transducers in each direction, and work out the wind speed from the difference. They're more expensive, more accurate at very low speeds, and there are no bearings to wear out.
Two numbers matter more than the model you buy. The average is the sustained wind, usually worked out over ten minutes. The gust is the brief peak, typically measured over about three seconds. A day with a 15 mph average and 35 mph gusts is a very different day from a steady 15 mph, and quoting only one of them is how people end up misjudging conditions.
Do check the starting threshold too. Cheap cup units often need a mile or two per hour before they begin turning, so they read zero on genuinely calm mornings. Bearings also stiffen after a year or two of British weather, and a stiff bearing under-reads. If your sensor suddenly seems sluggish, suspect the hardware before you blame the forecast.
Where you mount it matters more than what you buy
A mid-range anemometer in a good spot will outperform an expensive one bolted to the wrong wall. The official standard is 10 metres above open ground, well clear of obstructions — impossible for most homes, but you can get closer to it than you'd think:
- Mount on a pole above the roofline if you can, ideally at least a metre above the ridge. The higher the sensor, the closer your readings get to the standard.
- Keep clear of walls, trees and sheds. An obstacle disturbs the airflow for roughly ten times its height downwind and about twice its height upwind, so give the sensor room.
- Avoid sitting it directly on the ridge line. Air accelerates as it passes over a roof, so you'll record speeds your garden never sees.
- Steer clear of chimneys, flues and extractor vents, which add their own local movement.
- Write down your mounting height. A reading from 3 metres and one from 10 metres aren't directly comparable, and noting the height stops you drawing the wrong conclusions later.
Handheld meters need a bit of technique. Stand in the open, hold the unit at arm's length and upwind of your body, at chest height or above, so you aren't sheltering it. Take several readings and average them rather than reporting the biggest number you see.
Which approach should you use?
Beaufort is free, needs no power, works anywhere and tells you the band straight away. Its weakness is subjectivity — one person's "quite windy" is another's "barely a breeze" — and it's easily confused by local shelter.
An anemometer is objective, logs gusts, and lets you compare Tuesday with last Tuesday. Its weakness is that it only measures the spot it's fixed to, and a poorly sited one produces confident, precise, wrong numbers.
Weather apps and forecasts are a third thing entirely. They give you model output or readings from an official station, not what's happening on your street. Useful for planning the day; not a measurement.
The trick is to use them together. If your station reports Force 6 but the trees outside are barely moving, something is off — an exposed mounting position, a worn bearing, or a short-lived gust you happened to catch. Cross-checking keeps both methods honest.
A simple routine to start with
Pick one reference point you can see from a window: a particular tree, a flag, a washing line. Each morning for a week, glance at it and write down your Beaufort estimate. Then mount your anemometer, and for a fortnight log the average, the gust and your visual estimate at the same time each day, along with the mounting height. Inside a month you'll know exactly what Force 4 looks like from your kitchen, and what your garden's wind really does when the forecast promises "blustery". After that, judging wind strength stops being guesswork.
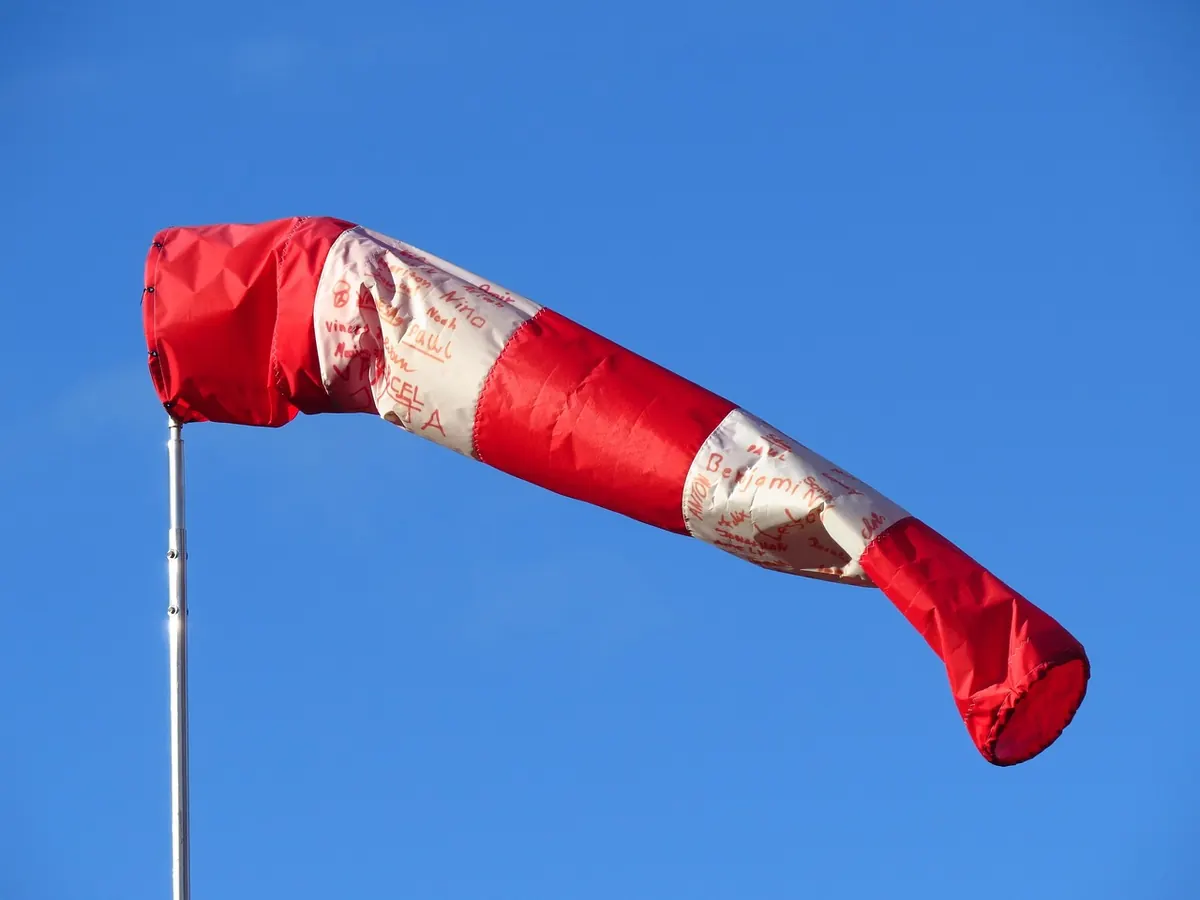
Photo: Hans / Pixabay

You Might Also Like
From frosty January mornings to warm, thundery August afternoons, this month-by-month guide explains typical UK weather, regional quirks and how to plan ahead.
Warmer air holds more moisture, and UK rainfall is increasingly arriving in heavier bursts. Here is what the science says about storm rainfall, flood risk and attribution studies.